Saturday, October 31, 2020

Moonset Over Dartmoor


10/31/20 5:30 a.m.

And then the sun rose on the east about 7, coloring the clouds where the moon had just set.


Today I will devote time to prepping these four quilts to go to my LAQ soon.


I need to cut the selected backs to size.  
Three of the four bindings sit next to my machine, ready for stitching.


I'm happy to report that 31 of the 41 gray blocks are finished for the monster quilt.


Ten more gray to go and then sixteen more yellow.

Happy Halloween, Y'all! 


Tuesday, October 27, 2020

Shake, Shake the Ketchup Bottle

None'll come, and then a lot'll

That pretty much describes my quilting activity recently!

Last week was full of service contractor visits at the house and Nashville doctor visits for Alex.  Though I didn't accompany him for these routine annual visits, I find it hard to get seriously involved in anything while he's gone, "just in case."

I did finish those nine kitted blocks for the monster quilt and cut five more blocks on Sunday.  I measured our bed to make sure I really need 81 11-inch blocks, and yes, I do. 😟

That's about the sum total for last week.

This week has a lot scheduled, as well -- more contractors, a medical procedure for Alex, a socially distant visit with friends, and a potential shopping trip in Knoxville.  It's hard for me to immerse myself in a project when I have to work around other scheduled activities.  But I set some goals for the week and as soon as the restoration contractor left yesterday (we're having some water-damaged drywall replaced in the family room), I went about finishing Colorado Lily.  TA-DA!

The real pattern name is Churn Dash by Kim Brackett from one of her Scrap-Basket books, I think Scrap-Basket Sensations.  I call it Colorado Lily, though, because the block is very similar to the Colorado block and the friendship stars in the sashing make it look like flowers.  I  coerced my better half to be my holder in the daylight so that the colors show better.

And while I had the momentum yesterday (and an easy dinner planned) I decided to stitch the last four seams on a Halloween wall hanging that has been in progress for an embarrassing number of years.  I took advantage of my top holder while he was on the stool (he's short) to get a full view of it.

The 12" blocks are from a block swap hosted by Denise Russart/justquiltin in September 2014.  She is a very prolific pattern designer for Hoffman California Fabrics and also Electric Quilt.

I am considering appliqueing a ghost on the black center and may add side borders to make it truly twin size.  But for now it will be part of the decor on our dock for the Halloween boat parade on Saturday.

I'll leave you with a couple of pics of my blocks.


Thursday, October 22, 2020

Sometimes you just have to step away

 The six rows of my Colorado Lily are in twosies.  I wanted to add the top and bottom sashings to rows 1 and 6 before the last two seams.  I related the tale of my leaf shortage and my planned replacement here.

Well, after incorporating the stripey green into the top sashing, I decided it was too distracting.

The shades of green were in the same family, but the stripes were "in-your-face".  Nothing else in my stash would do so, in frustration, I decided to step away and revive a project that not only has been languishing in the project pile, but also occupying three boxes of "potential" fabrics -- the monster grey and yellow quilt for our king-size bed (shown below in no particular order).

About ten blocks were kitted up, five with the 9-patches already made, so it was pretty much mindless sewing.  Which gave me time to cogitate on my leaf options for Colorado Lily.  I decided to check the green scrap bin and, YES! There was a 4" half-WOF strip of a near-perfect replacement.


It required some strategic cutting, but I'm back in business!  Sometimes you just have to step away and give your mind some breathing room.

However, TOO much breathing room can be dangerous!  As I was drifting off to sleep last night I thought the original dotty fabric reminded me of my Asian fabrics.  Wait!  Could I possibly have any more of that fabric in my Asian drawer?  

YES!  This morning I found seven 2.5" squares.  I only need 10.  Those seven along with the one still in the abandoned top sashing and the two I couldn't find when I was cobbling together the last horizontal sashing so I threw them away ... Oh, (bleep), Alex emptied the trash last night ...

Back to Square Three.


Playing Chicken

 Do you ever play Thread Chicken or Bobbin Chicken -- 

seeing if you can finish the task before one or the other runs out?

Yesterday I was keeping an eye on the thread ...

...when the machine started making the mechanical sound it makes when the bobbin gets low.

I sewed on, keeping an eye on the thread and my stitching.  I finished the task at hand with thread to spare so I stitched on, whipping up a pile of cutoff HSTs.


In the end, I had about a foot of thread left and this much still on the bobbin.


Sometimes I win, but more often I don't 😞

How about you?

Tuesday, October 20, 2020

Note to Self: Record your plan!

What's wrong with this picture?


It's not easy to see, I know, but last I heard the stitching is not supposed to go through the pin!


The thread broke, but the needle appears to be unaffected.

What doesn't show in these pictures is that the sashing strip I was attaching to the top row of Colorado Lily was not supposed to be there!  


Apparently when I was calculating if I had enough fabric for the "leaves" I didn't take into account a top and bottom sashing.  You guessed it; I'm short of leaf fabric!  I don't remember if I was thinking there are no leaves top and bottom, or if I was thinking I'd just do something different.  I didn't leave myself a note; I didn't write it down!

Well, I managed to cannibalize enough leaves from that errant row of sashing to cobble together the last horizontal row of "interior" sashing.  The top and bottom will have this different green fabric in the leaves.  


I'm nearing the finish line!

Friday, October 16, 2020

It has a REAL Name!

Churn Dash

Thanks to Sandy at Sew High I now know the source of my Colorado Lily quilt!  It is a design by Kim Brackett that appears in her book, Scrap-Basket Sensations: More Great Quilts from 2-1/2" Strips, which she called Churn Dash.  I used to own that book -- even made a quilt or two from it -- but I don't remember that pattern.

But to me it will always look more like flowers than a churn dash so it will remain Colorado Lily. 


I assembled the last two rows yesterday and will work on the horizontal sashing this afternoon.  Gayle/Mangofeet suggested floral fabrics in the cornerstones and that is one of the options I had considered so I'll give that a test run.  I'm afraid that might make the cornerstones too "literal" in the flower interpretation and detract from the larger "flowers."  We'll see.


Thursday, October 15, 2020

WIP Wednesday

 ... on Thursday

Last week included a round trip to the dentist in Nashville and a stop in to visit Son-1 and his bride.  He will still be working from home until the end of the year and DIL is recovering from foot surgery.  Some of the houses damaged by the March tornado in their neighborhood are being rebuilt, but others look like they have been abandoned.  So sad to see.

The rest of last week was devoted to whipping the house into shape, including sanitizing, in preparation for our first neighborhood Ladies of the Pointe book club meeting.  I am really excited to see what books we will pick to read next year.  I get to suggest two, so send your recommendations my way.

This week began with the trip to NQM in Paducah, KY and an overnight to celebrate Alex's 69th birthday (yes, I robbed the cradle).  By Wednesday I was finally able to return to the sewing room and am making progress on Almost Colorado Lily.


All the blocks and vertical sashing strips have been made.  Four rows of blocks have been assembled and the last two rows are waiting patiently next to my machine.  About half of the horizontal sashing is made but I need to prep and cut more of the white fabric before I can finish those.  I'm waiting to decide on the cornerstones in the sashing, debating between white or color(s). 

In between stitching I am enjoying the cooler fall weather, opening the new windows (yay, they actually open!) whenever I can.


Wednesday, October 14, 2020

A Visit to the National Quilt Museum

 It's always a pleasure to visit the National Quilt Museum in Paducah, KY.  I have been there many times, usually during  the AQS show in the spring or the fall, but only twice have I made the drive to JUST visit the museum as we did yesterday. 

That first visit circa 1998 was the beginning of my obsession.  Several reenacting friends and I made a day trip to Paducah, primarily to shop at Hancock's of Paducah, but we were also interested in a special exhibit at the quilt museum.  We thought we'd spend about 30 minutes at the museum and then head to Hancock's.  Well, we dragged ourselves out of the museum about 2 hours later and after lunch at one of the delightful restaurants in the downtown area and a bit of antiquing, we had exactly 30 minutes to shop before Hancock's closed.  You likely have never seen 7 people shop for fabric so fast!

Anyway, the minute I stepped into the gallery that day and saw the beautiful quilts I said, "I have to do this!"  I attended the next year's AQS show, took two classes, and the rest, as they say, is history.

Yesterday's trip was specifically to see the Suffrage Exhibit.  If you click on the link above, scroll down to the September 1 post and you can see a panoramic view of the entire exhibit.  As you scroll you will see highlights of other exhibits currently hanging.

This was a challenge by the Dakota County Star Quilters in Minnesota which they opened to others outside their guild.  I was worried that my quilt, seen at the bottom of the second panel, would be too amateurish to be accepted but I think it holds up well among the others.  

Some of the little quilts were very "artsy," and a lot of them included a slogan on the quilt itself, like this one. (Sorry, I forgot to note the maker)  

My message was a bit more subliminal -- 36 yellow rosebuds (the Suffragists' flower) in the suffrage colors of yellow/white/purple surrounding the state which provided the 36th and deciding vote on the amendment.

Alex and I both liked the message on this one by Doris Carr from Kansas City, MO.


One of my favorite quilts was this one reminiscent of the Suffrage cockades 
by Rosemary Root from South St. Paul, MN.


Here is the whole exhibit ...


Monday, October 12, 2020

The Perfect 36

 Here it is, hanging in the National Quilt Museum along with 40+ others from 16 states.

Oh, and that's me, after a 5-hour drive to see it.

Sunday, October 11, 2020

Tool Time

You may have heard (or read) me say that I am not a fan of specialty rulers, but when I find one that does what it promises, works for multiple sizes, lefties or righties, and offers options, I'm happy to share with you.


I had heard high praises for Doug Leko's Simple Folded Corners ruler so I put it on my Christmas wish list last year.  One of our boys gifted it to me, but I only got around to trying it recently.  (Couldn't be because it got buried in the ruler basket next to my cutting table ... just sayin'.)

One of my least favorite things to do in this crazy hobby is drawing a line and stitching 1/4" on either side of it or, worse, stitching ON the line.   Not saying I'm ever perfectly accurate, but I'm "just-as" accurate when I stitch against a cut line and I haven't taken the extra time to draw the line.  And then there's the issue of all those cut off triangles that I can't bear to throw away .... oh, don't get me started!


When faced with the chevron units in my current project, Almost Colorado Lily,
I tried several methods that would not only yield an accurate unit, 
but would also eliminate the cut off triangles.  


That's when I said, "If I just had that ruler ..."
After all, the floral fabrics were free and I'm not in love with the background.
So what do I care if I trash the triangles!

Here's how it works ... Place a folded corner square face down on a rectangle (my squares are 2.5" and the rectangles 2.5" x 4.5"; I'm using the "exact size" option).

Then position the ruler so that the first solid line is at the left edge of the square.  You can see that the diagonal line is going from corner to corner of the square where I would have drawn the line to stitch on. The cutting edge is 1/4" to the right where I would be trimming the cutoff after stitching with the "line" method.  I like that the lines on the ruler are relatively fine and the intermediate markings are just dashes and/or crosshairs which makes placement easy.

I take them to the machine and stitch from the side. (That pin on the long edge is telling me the rectangle was cut just a little shy of 2.5".  I'll adjust for that in the next seam.)

I press toward the corner by pulling the straight edge in line with the side of the rectangle, then move the iron up toward the corner.

Repeat the process on other end of the chevrons ...

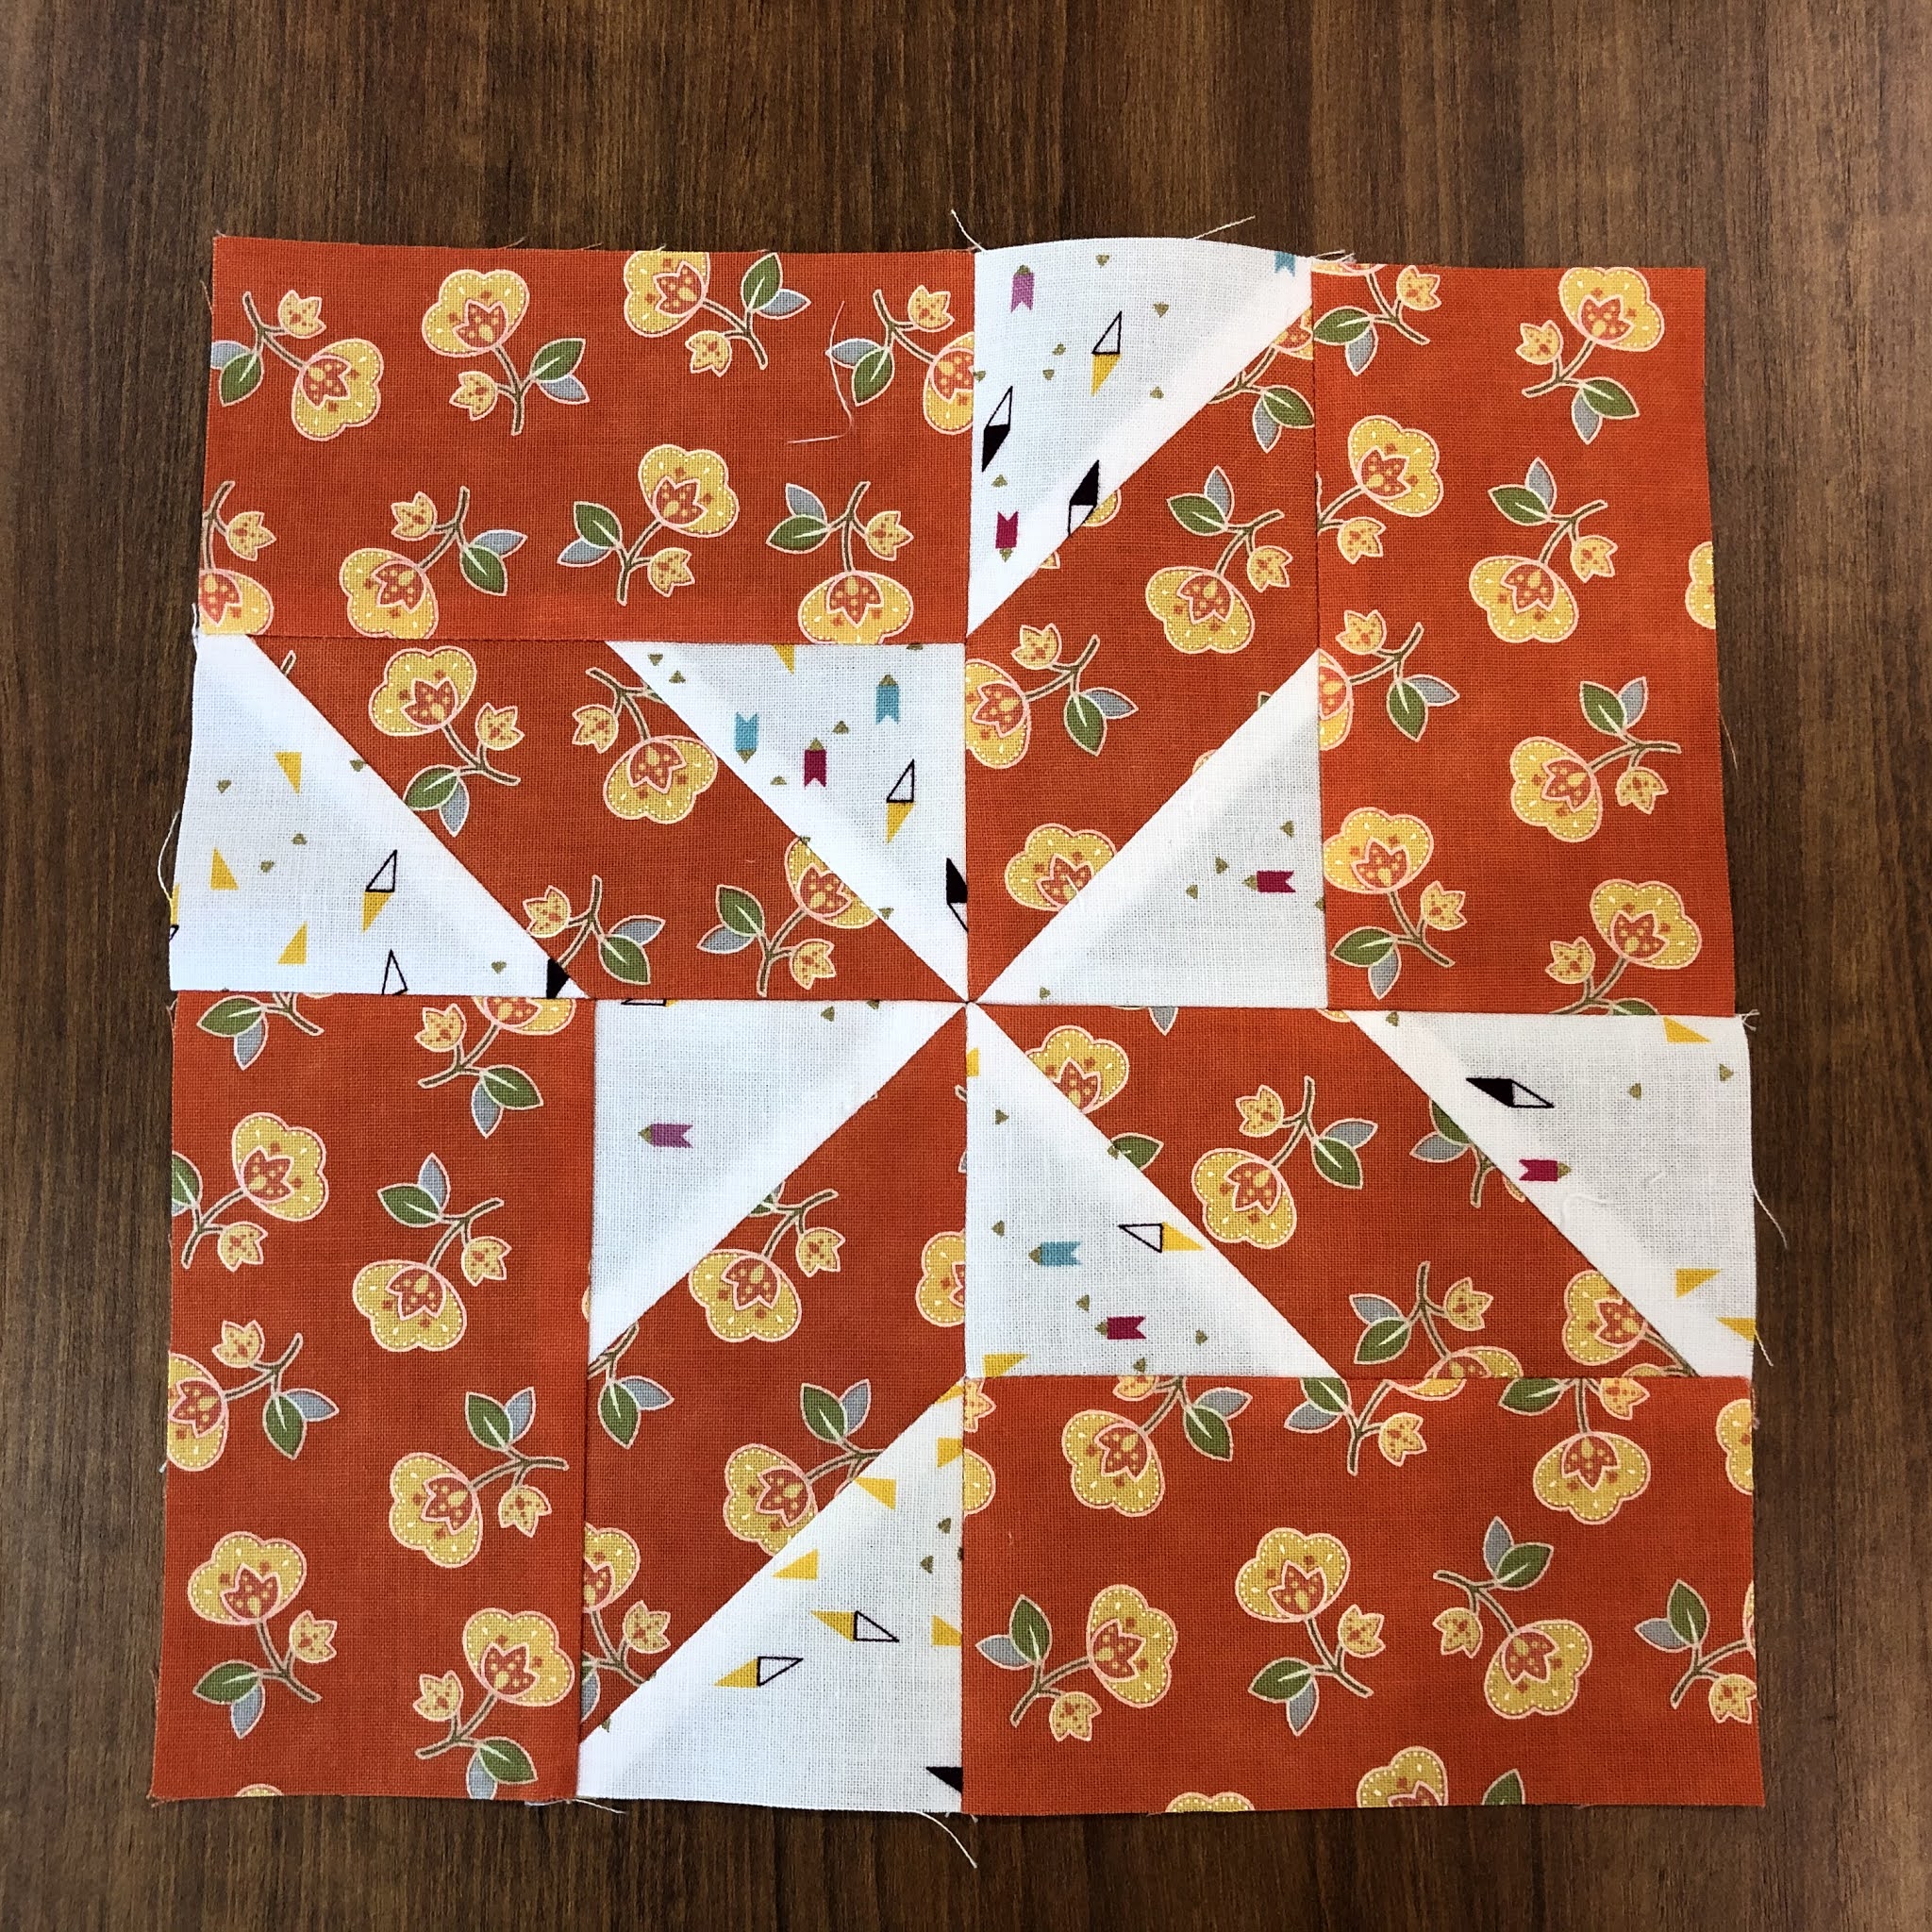
Bottom line -- I'll probably use this ruler more often when the situation warrants it.  But those cutoff corners ... I just couldn't resist the urge to salvage them.

Since each block yields 8 cutoff corners, I am putting them into pinwheels of four.  Rather than trimming them as triangles, I will square up the pinwheels.  OR I may put frames around each of them and then square up ...

Sunday, October 4, 2020

Pour the Wine

and start shufflin'

This is the point where it pays to pour a glass of wine, sit back, and consider what should go where.

Should I arrange by color?  Should I arrange by pattern in the fabric?  Should I balance value?  These are rhetorical questions, by the way, 'cause I've already made my decisions!  I have two more blocks to make; one has been cut.  Even though this is not the Colorado block, I plan to call this one Almost Colorado Lily.

While clearing off some shelves in the storage room, I found a nice white 100% cotton fabric in my costume-making supplies that is the perfect white for the sashing!  It's what I used to make my 19th century chemises.  With input from DH, I have selected a green for the "leaves."  Unfortunately, this coming week is full of trips, house cleaning, and meetings so I doubt there will be little progress till next weekend.

I still owe you a tool report so watch for it.


Friday, October 2, 2020

Blue Moons and Blue Birds

and New Birds and Dead Birds

Did you know that there will be a blue moon in October?  A Blue Moon is when there are two full moons in the same month.  I'm not sure which one is blue ...  (Actually, there's a more technical definition that involves 13 moons, but I won't go into that right now.)  I don't know if this always happens, but this morning the moon was still high as the sun was coming up.


Viewed through the bathroom window on October 1 (with a sheet tacked over the window).  The next full moon will be October 31.  It has been so amazingly bright the last few nights that without window coverings it seems like I should be getting up in the middle of the night.  (Of course, I do that anyway, several times a night ... sigh)

The good news is we ordered blinds for the bedroom Thursday, but it could be near Christmas before they will be installed.  The bad news is the painter failed to show last Saturday so we are searching for someone to touch up the white frames where old hardware was removed and to stain the windows in Alex's office.

On to the Birds ...

I have observed a pair of bluebirds on the deck recently but I never have my phone handy at the time to snap a picture.  I am hoping they will stick around and raise a family next year.

We have so many finches and sparrows that I can't identify but special visitors the last few days have been a pair (or family) of rose-breasted grosbeaks.  The male looks just like this picture I snagged from the internet:


I knew what it was the minute I saw his red breast triangle!  But he wouldn't stick around long enough for me to snap a photo.  I did get a shot of this one, though I can't tell if it's the female or a juvenile male as it appears to have a bit of a red breast.  


I think I have seen a for-sure female, though I didn't realize it at the time.  She has the same distinctive white line over the eye, but more striping on the breast instead of the rose triangle.

Lacking blinds, the new windows have been lethal for several birds.  A pretty goldfinch hit the picture window in the bedroom so hard it dropped on the spot.  Another gray bird hit one of the side windows in the bedroom but it bounced back to the crepe myrtle.  I could tell it was struggling to catch its breath and I kept willing it not to panic and to breathe deeply.  It seemed to be doing well until it flipped upside down on the limb and it couldn't hold on.  Would have been funny had it not been so sad.  I checked the ground under the window soon thereafter and it apparently regained its composure as it was nowhere to be seen.

And the deer are rutting.  They chose our back yard while the blind salesman was here -- how embarrassing!


Thursday, October 1, 2020

New Technique, New Tools

It's a beautiful Fall morning here on the Plateau, the sun finally rising at a humanly decent time.

I've noticed that some of my friends who do precision sewing starch their fabrics before cutting.  I first heard about this in a workshop with Elsie Campbell quite a few years ago, but I was hesitant to adopt this practice as it seemed to be an unnecessary step in the quilt process.  Plus I had heard that silverfish 

(a small insect) are attracted to starch (they love the glue in books and cartons) so I didn't want starched fabric aging on my shelves.

Silly Me, it hadn't occurred to me to starch just before I cut.  My friends say that it should almost feel like paper, so that's what I've been doing with my current obsession project.

I'm here to tell you that it works!  The biggest advantage that I am finding is less raveling.  How I hate having to clean loose threads off the back of a flimsy!  

I am using Sta-Flo liquid starch in a 1:1 ratio.  

My new tool, a continuous spray bottle, does a great job of even distribution.

I had to laugh at the labels on the box, though.


I'm using another new tool, too, but that's a subject for another day.